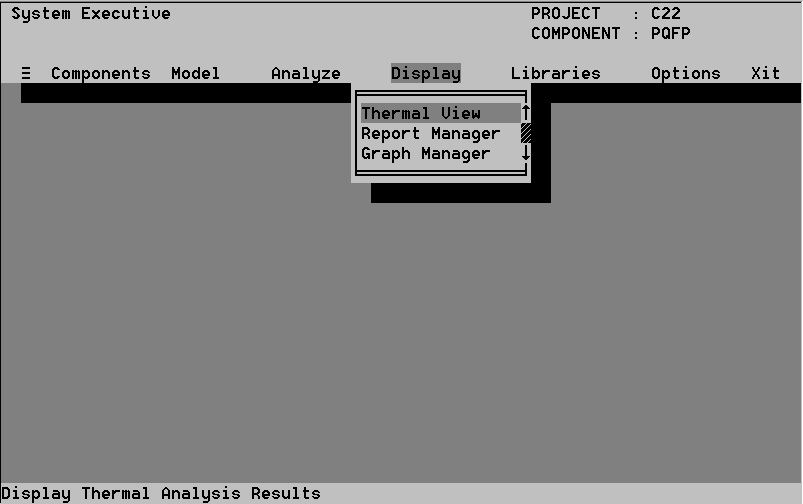
- Thermal View enables you to view the results of the thermal analysis.
- Report Manager enables you to create, edit, and print reports.
- Graph Manager enables you to view previously generated graphs, for the selected component.
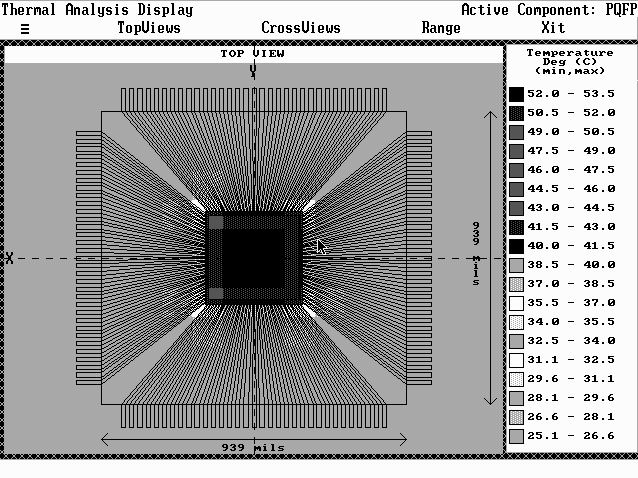
- TopViews allows you to select which layer you wish to view, i.e. lid, die, or substrate, by removing the layers above.
- CrossViews allows you to select either x or y cross-section.
- Range allows you to set the temperature range to be displayed.
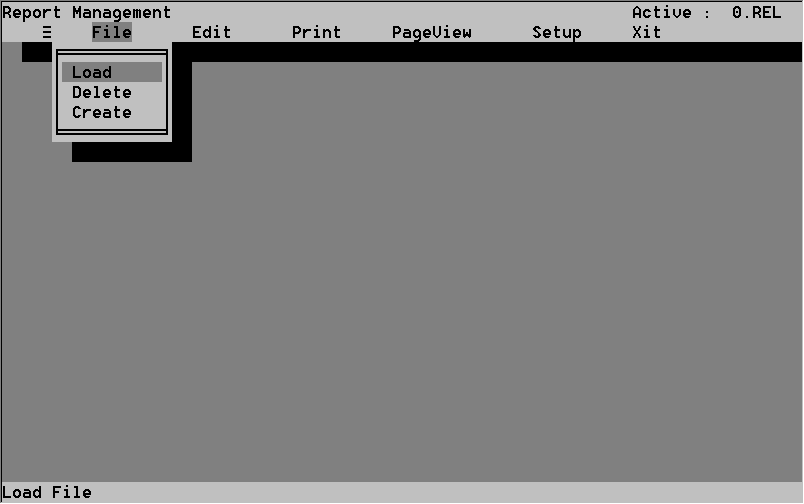
- File enables you to activate or create reports.
- Edit enables you to edit reports.
- Print enables you to print reports.
- PageView enables you to view the report format.
- Setup enables you to choose the print format.
- Materials
- Environments
- Test/Screen
- PSD Curves
- Failure Mechanisms
- Interconnects
- Library enables you to activate individual databases.
- Material enables you to view and edit data.
- Query enables you to search the databases.
- Sort enables you to determine the sort order
- Fields enables you to choose material property fields.
- Report enables you to generate reports based on the information in the materials database.
- Environments enables you to activate environment files.
- Edit enables you to edit the data in the files.
- Test/Screen enables you to activate stress condition files.
- Edit enables you to edit the data in the files.
- File enables you to active a PSD curve file.
- Edit enables you to edit the data in the file.
- View enables you to view the curves.
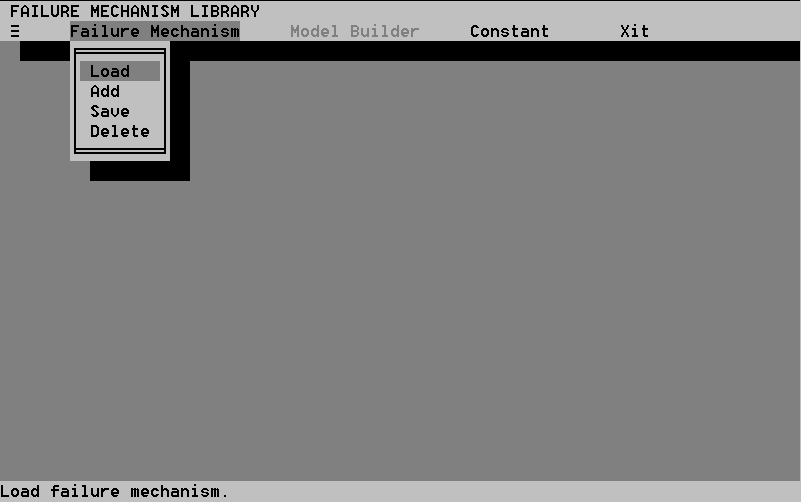
- Failure Mechanism enables you to activate a failure mechanism file.
- Model Builder enables you to create or edit failure models.
- Constant enables you to add and edit constants.
- Design enables you to select and edit an interconnect design.
- Library enables you to edit or create new interconnect designs.
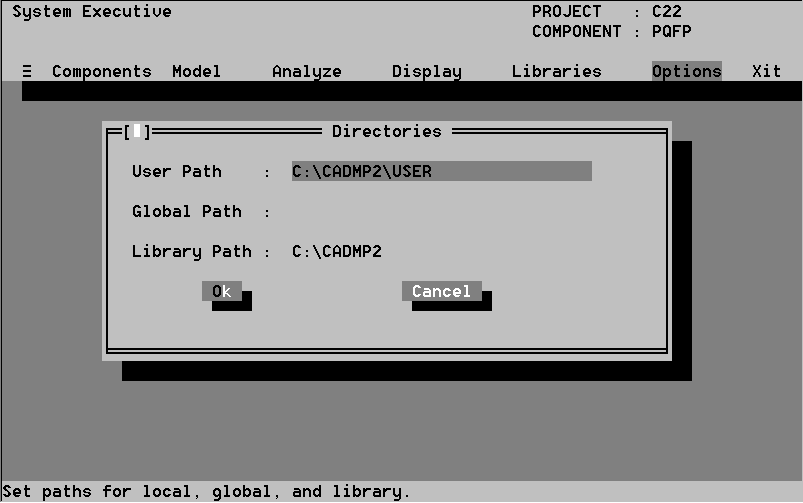
- Directories enables you to set up your personal and global directory structure. (Figure 23)
- Tools enables you to add or delete menu options. This is further discussed below. (Figure 22)
- 4.4
The Display Option
The Display menu, seen in Figure 12, contains three commands:
The Thermal View Display can be seen in Figure 13. There are three menu options:
The Report Management top-level menu, shown in Figure 14 contains five options:
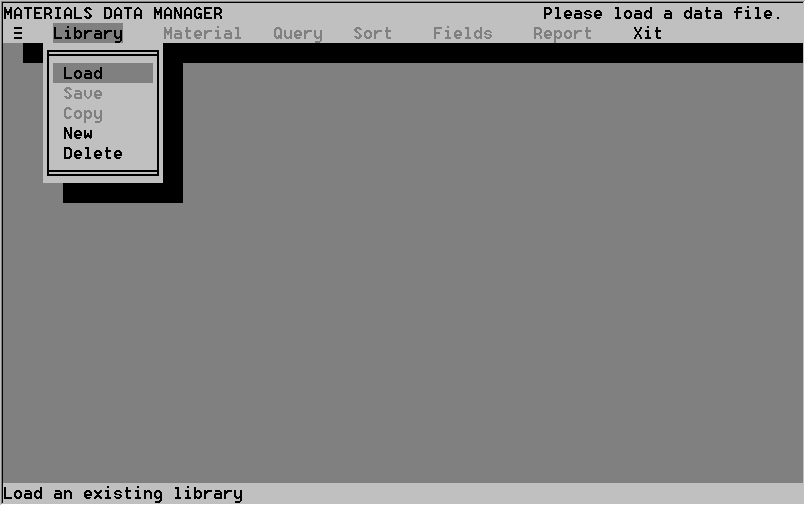
The Libraries menu, Figure 15, contains six commands that enable you to view and edit the following databases. All of the databases are discussed in further detail in Chapter 8.
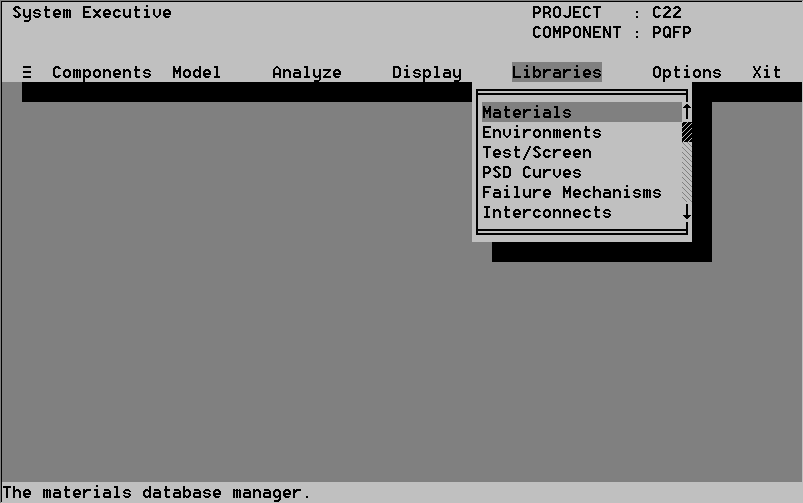
In addition, Libraries gives you access to the Report Manager. Most of the screens will look like the Materials and Environments screens shown in the Figures 16 and 17.
The Materials top-level menu contains six options:
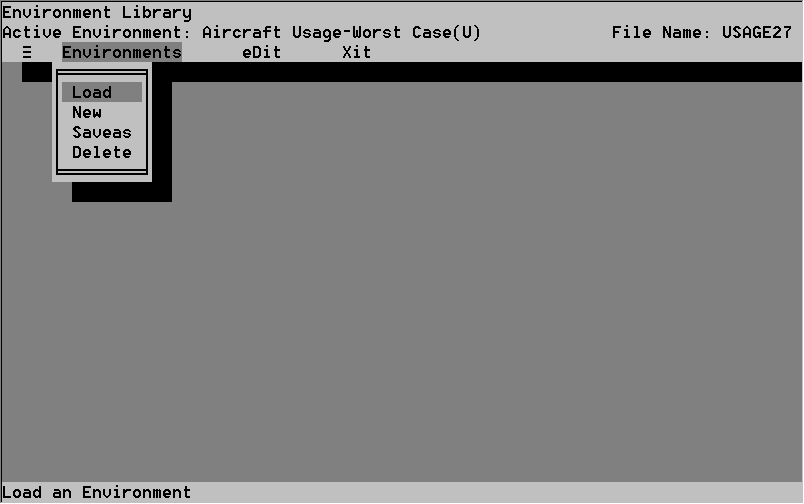
The Environments top-level menu contains two options:
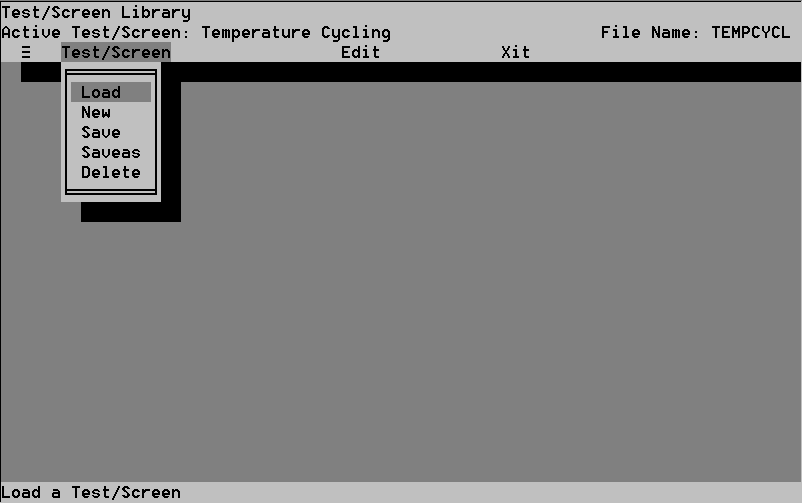
The Test/Screen (Figure 18) top-level menu contains two options:
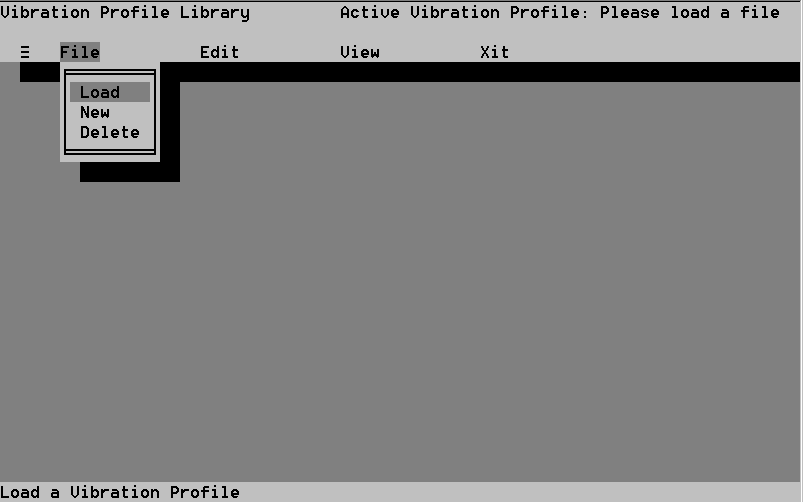
The PSD Curves (Figure 19) top-level menu contains three options:
The Failure Mechanism (Figure 20) top-level menu contains three options:
The Interconnect Design
screen contains two options:
4.6 The Options Window
The Options menu contains three commands:
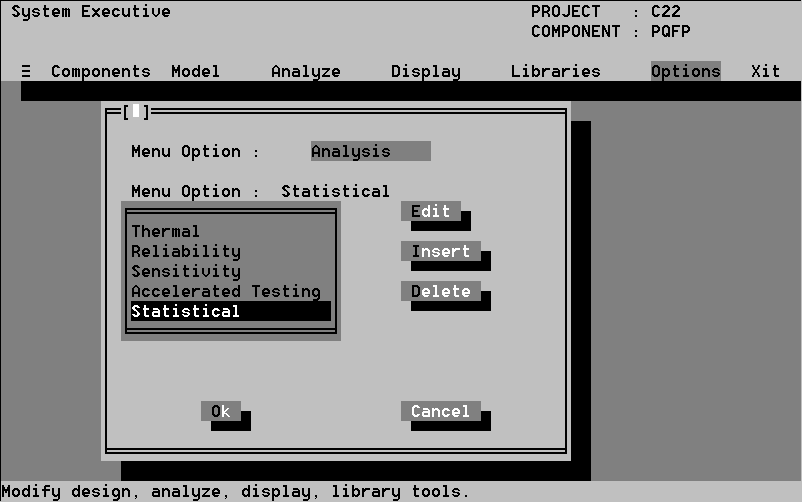
Using Tools allows you to add commands
into the menus of the System Executive. This increases the versatility
of the software. One benefit is the ability to shell out to other programs
without exiting CADMP-II. For example, you may add our Weibull analysis
statistical program into a menu. To add Weibull, you must go to the Tools
window (see Figure 22) and select the menu in which you want it to appear
by pressing alt-m to flip through the System Executive menu options.
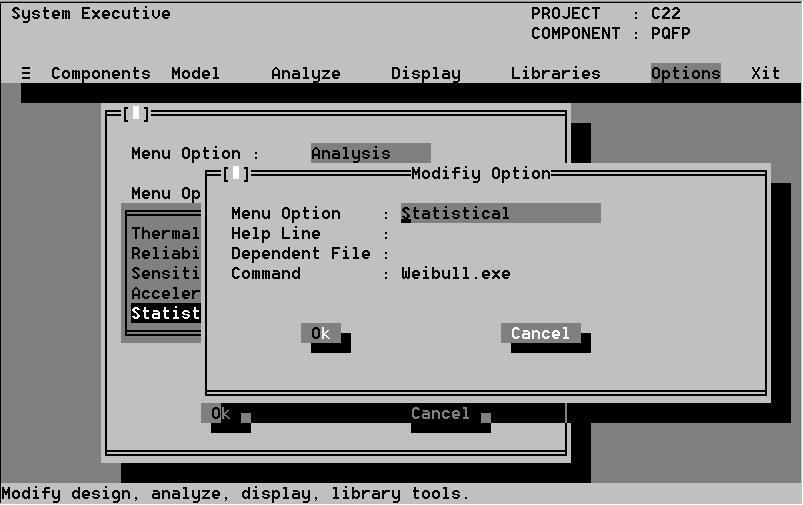
Using the mouse, click on Insert. (Figure 21 shows the Edit "Modify Option"
screen, which is similar to the Insert "Add New Option" screen.) You may
enter any characters you like for the first two fields. Leave the third
field empty, it is only usable by CADMP-II operations, not outside software.
For the fourth field, the Command, enter WEIBULL.EXE . In order for this
command to work the program you are adding must be in your DOS path. (Weibull
already is.) You may not include any directory paths in the Command line.