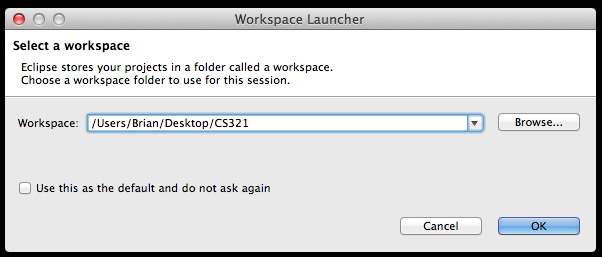
Right off the bat, when you start Eclipse you will be prompted to
designate a folder as your workspace. I like to keep active
projects right on my Desktop.
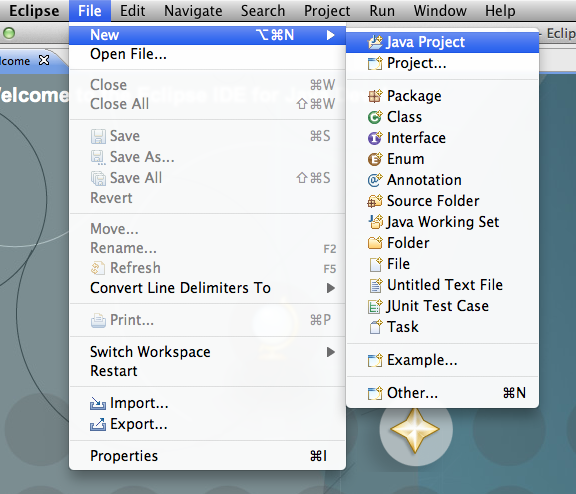
Once you've established a workspace, Eclipse will open to the main
window. Start a new project using File -> New -> Java Project.
A configuration window opens. The options are fairly
self-explanatory and the defaults are perfectly fine for 99% of
projects. However, you should name your project, as I've named
mine Homework1.
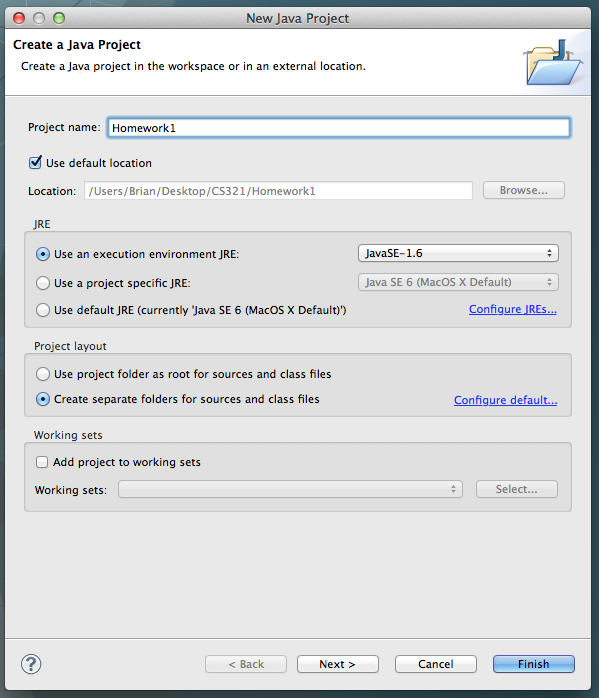
You'll see that Eclipse suggests a location within your workspace
where it will put it's files. Clicking finish creates your
project.
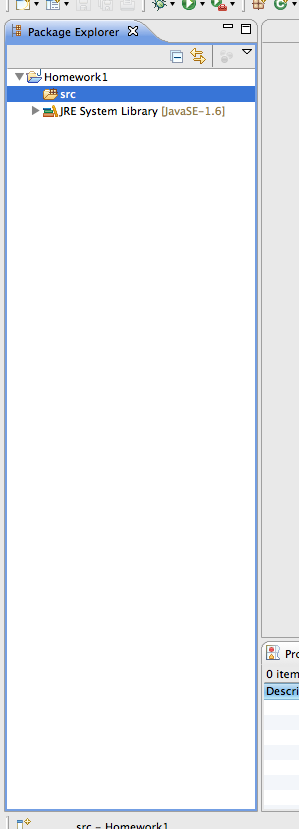
On your left is the Package Explorer window. There is a folder
which will hold the future packages of source files as you
establish them.
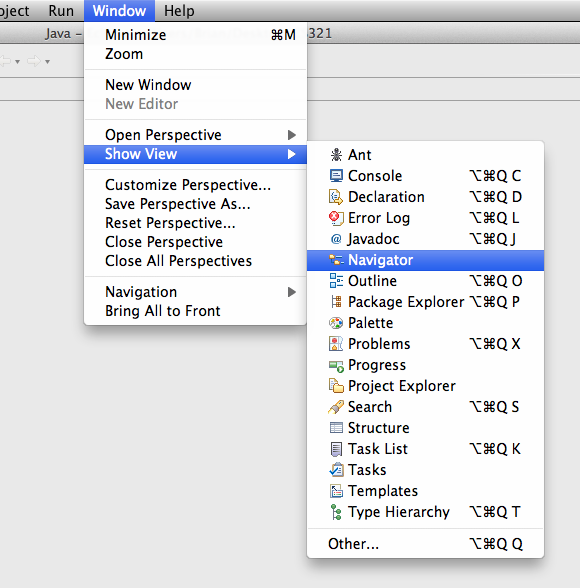
For our purpose (that is, importing the project files), we would
rather look at our folder hierarchy directly (instead of
Eclipse's interpretation of it). We can open the Navigator View
using Window -> Show View -> Navigator.
Okay, now let's change gears. Minimize Eclipse and find your
workspace on the Desktop (or wherever you've placed it).
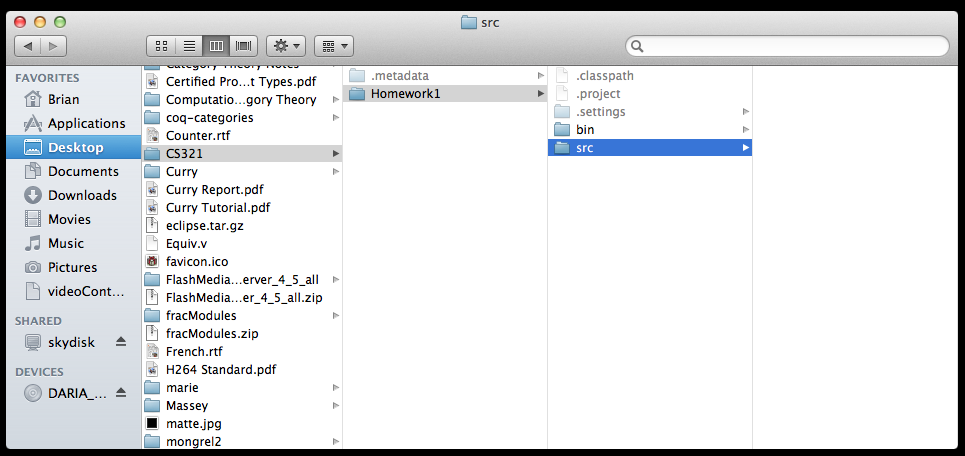
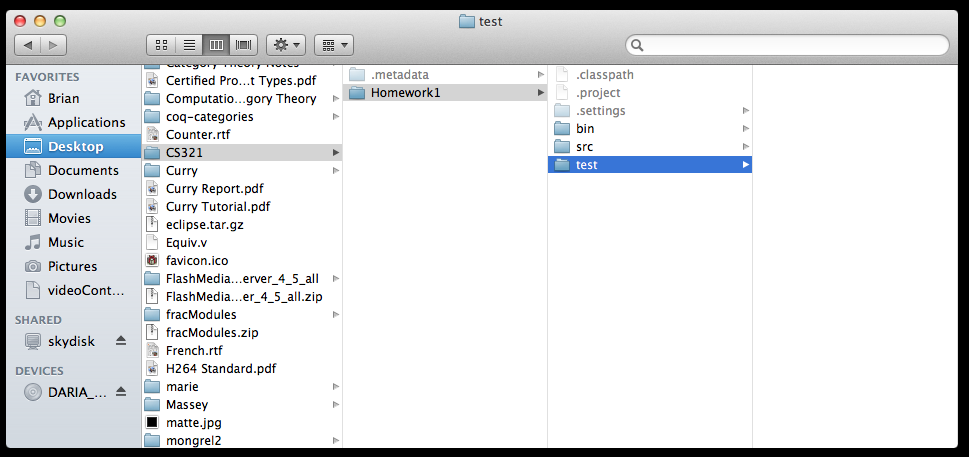
Inspecting the workspace shows that Eclipse has already done much
of the heavy lifting for us. There is a folder for your project
(Homework1), and in it are folder for your source code and their
application binaries respectively.
Save
hw1.java into your source directory.
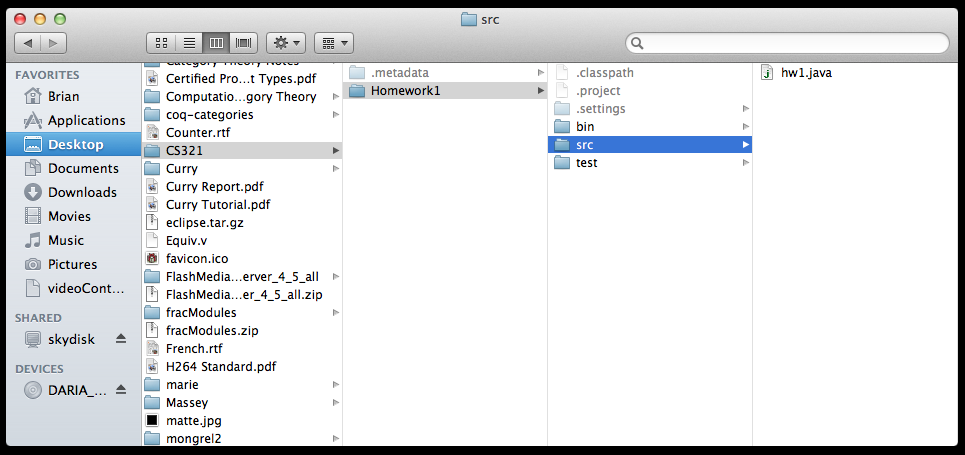
Now create a folder called test...
...and save the example files into it.
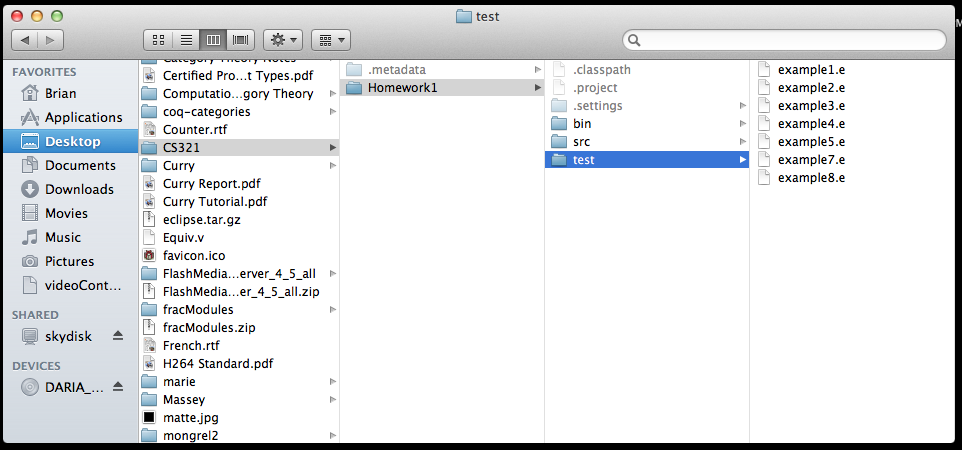
Here are the shortcuts:
Now go back to Eclipse.
From the Navigator, right-click the top-most folder and click
refresh.
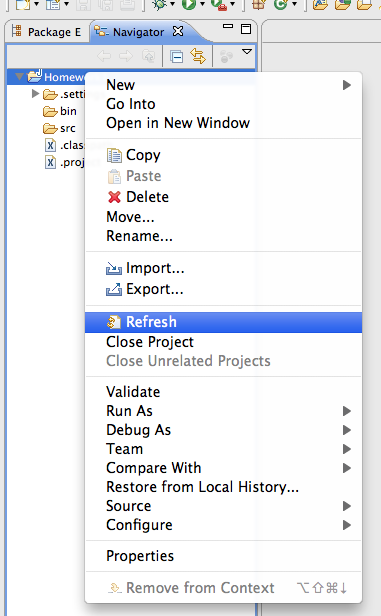
This will make Eclipse recognize the files you've just added.
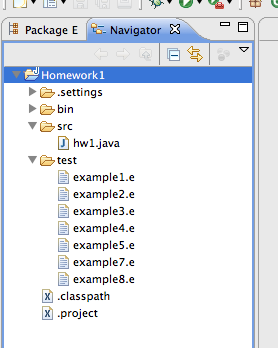
Great! Okay, we're done setting up. Let's go back to the Package
Explorer and see things the way Eclipse sees them. Close the
Navigator window with the X (or just bring the Package Explorer to
the front of the tabs).
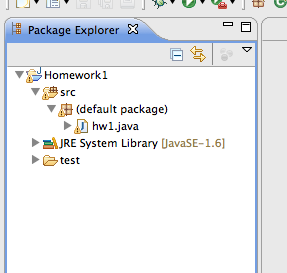
We can still see our src and test folders. However, the src
folder has a special worth for Eclipse. Folders in the src folder
are called packages, and files in those folders are "in the
package". Files placed directly into the src folder are
considered to be in the default package.
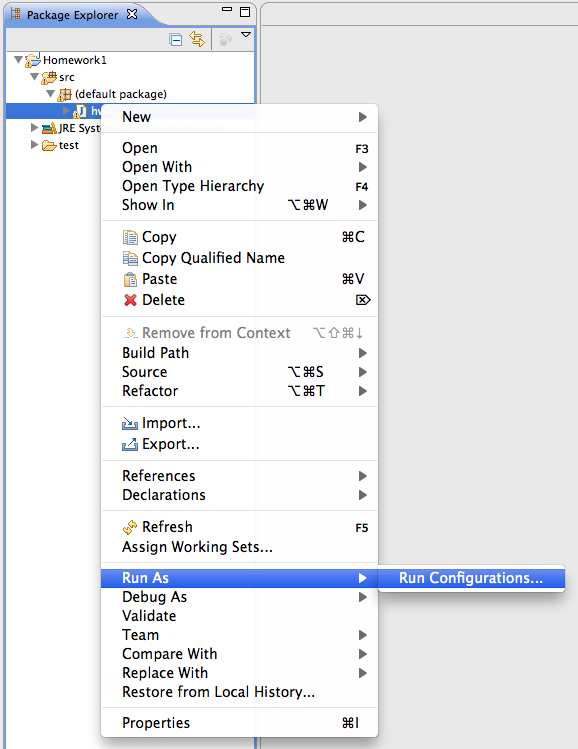
Let's run our project. Find the file containing the main method
(here it is hw1.java) and right click it. On the context window
that unfolds, execute Run As -> Run Configurations...
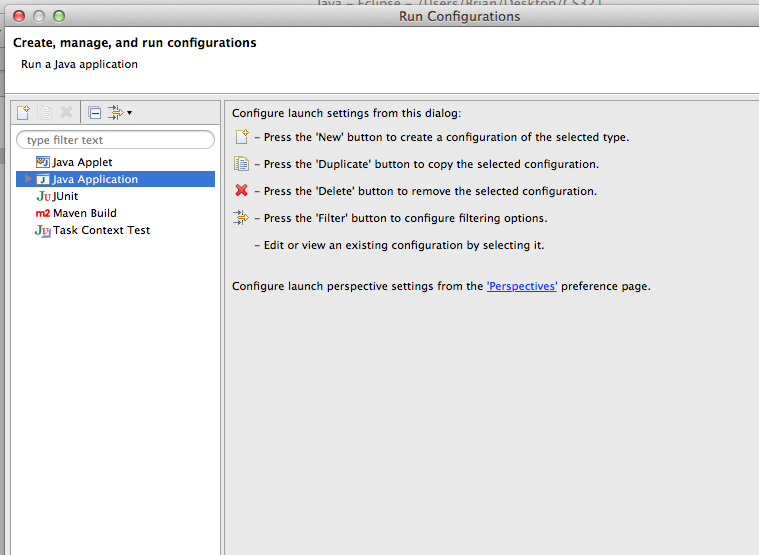
99% of the time we want to run our project as a Java Application.
Double-click the Java Application option to confirm.
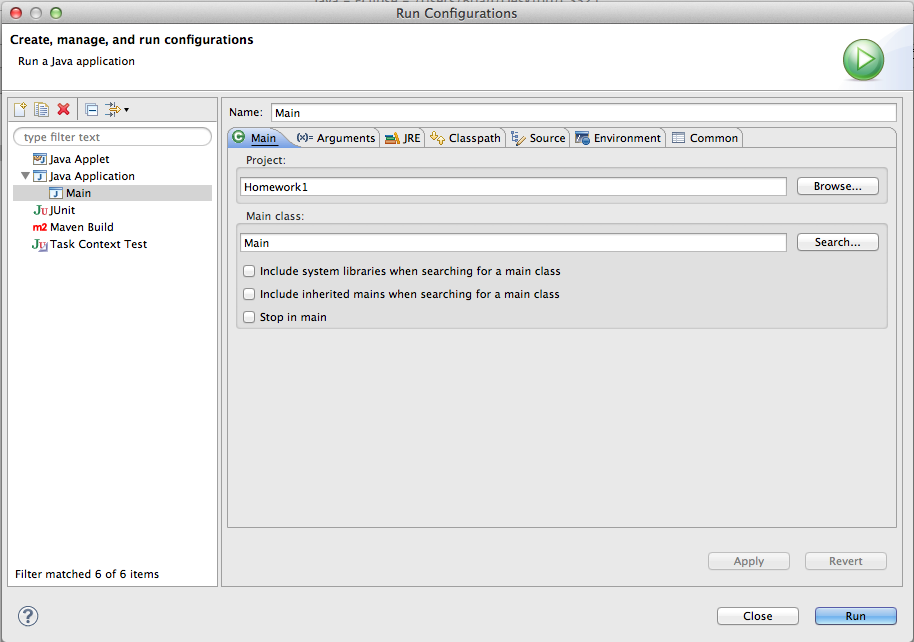
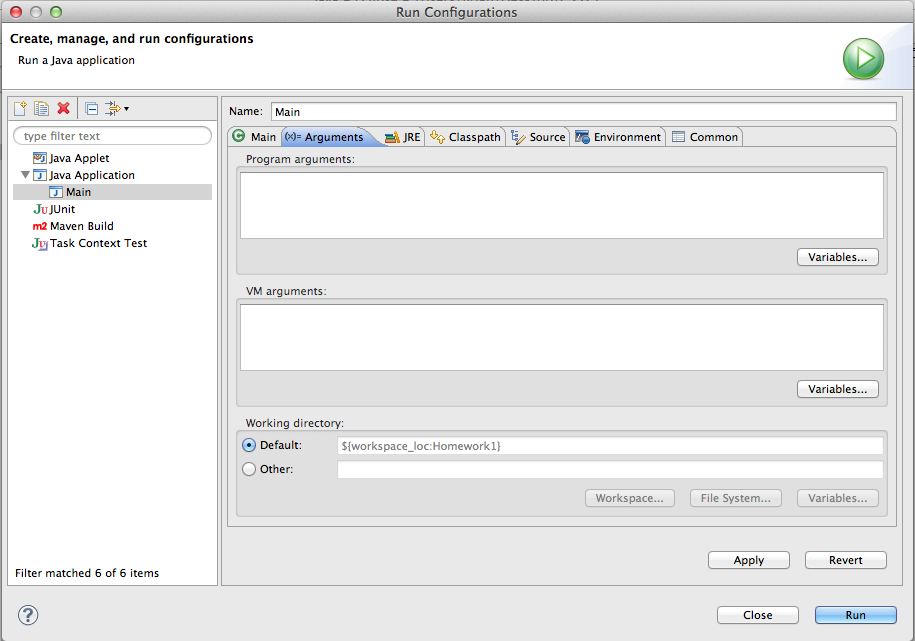
Now a series of tabs appear to help you further configure your
project. The defaults are fine for this project but you will want
to see how to specify your command-line arguments. Click the
Arguments tab.
You should see the pane, which lets you specify both Program
arguments and VM arguments. The particular arguments we're using
are Program arguments.
Enter your arguments in the appropriate field.
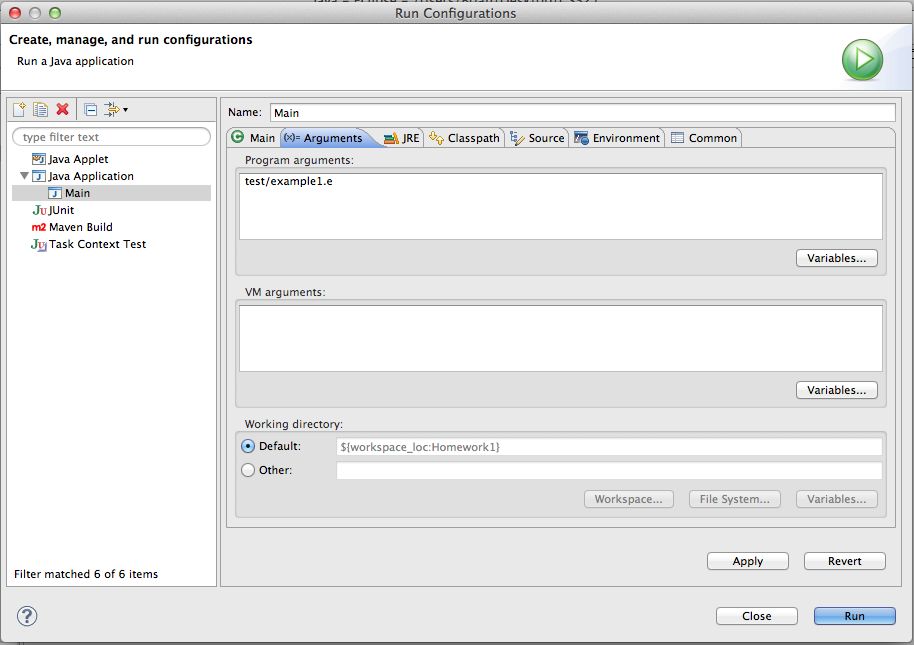
Okay great! Now hit Run and watch it go!
The console is going to show an error right now. That's because
you still have some work to do! But you made it run and that's
great. Now if you make some changes and want to see how they run,
hit the green arrow button on your toolbar to execute the program
again (with the same Program arguments).
