Attaching the Feet to the Upright
The upright 2x4 is the backbone of the fish tank platform. The upright is supported by two feet made from 1x4 boards.
This web page describes how to attach the feet to the upright. The entire assembly of the platform is divided into the following steps.
Goal
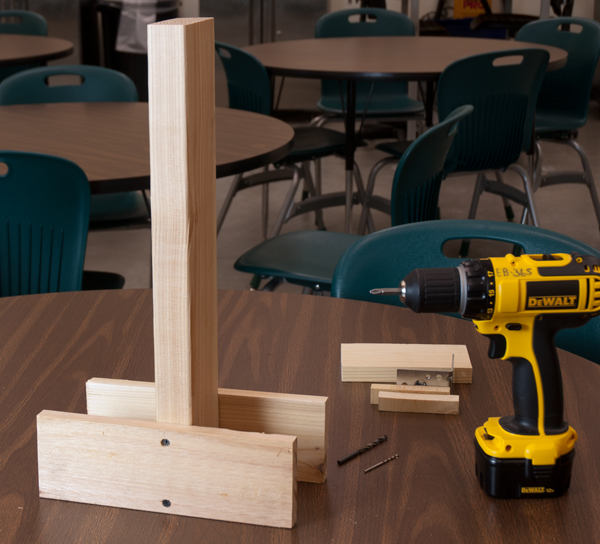
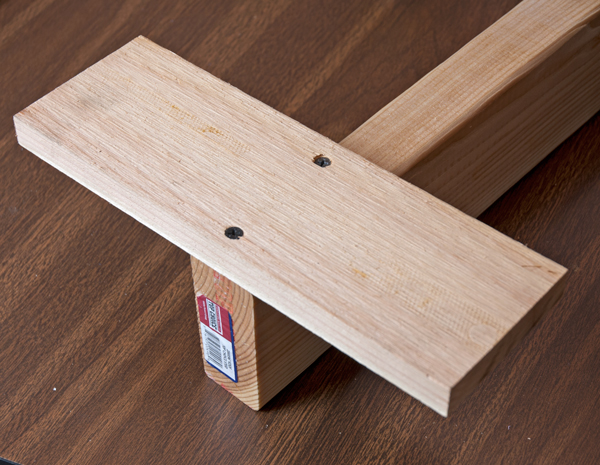
The objective of this step is to attach the two 1x4 feet to the 2x4 upright as shown in the following photograph. You will use the square to align the feet perpendicular to the upright. You will use the hand drill with two drill bits and a philips head screw driver.
Measure, mark and drill holes in the foot boards
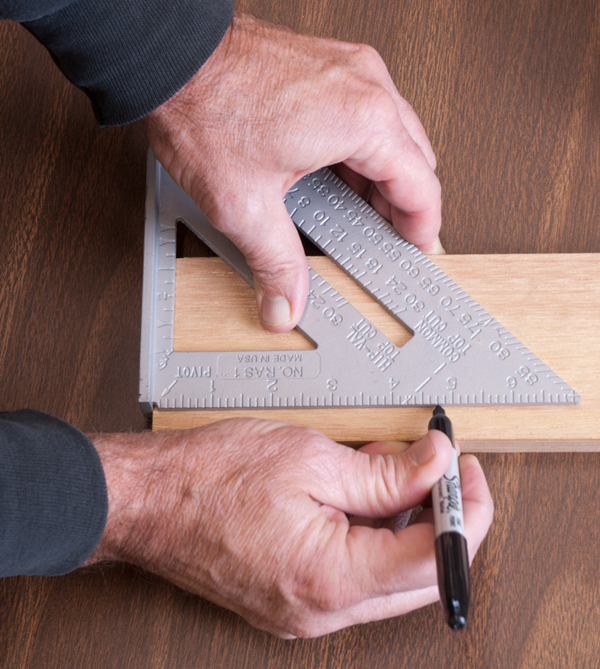
The two 1x4 boards (10 inches long) form the feet that hold the upright. Mark the location of holes on one of the foot boards.
Drill the holes in the foot board
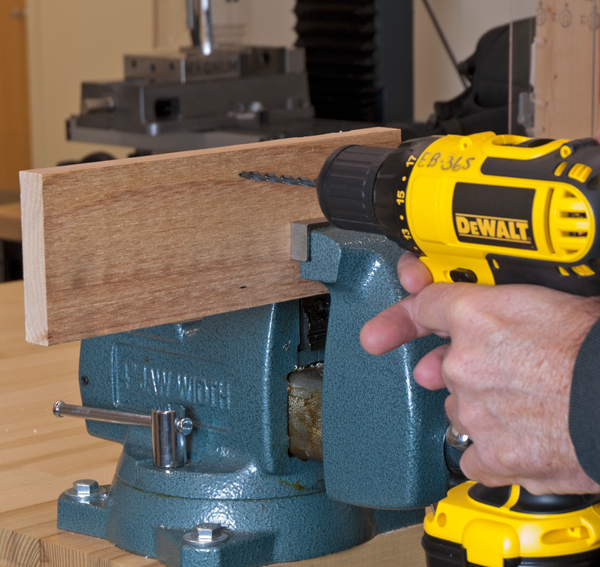
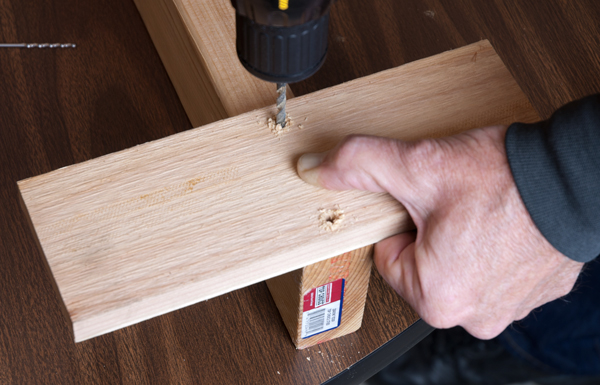
The second foot board needs through-holes. You could locate those holes by measuring again. A trick for to speed up the process is to use the first foot board as a pattern for the second foot board.
Align the edges of both footer boards and clamp both foot boards in the vise. Use the holes in the first foot board to guide the drill. Without measuring and marking, you transfer hole pattern from one foot to the other.
Drill pilot holes in the side of the upright
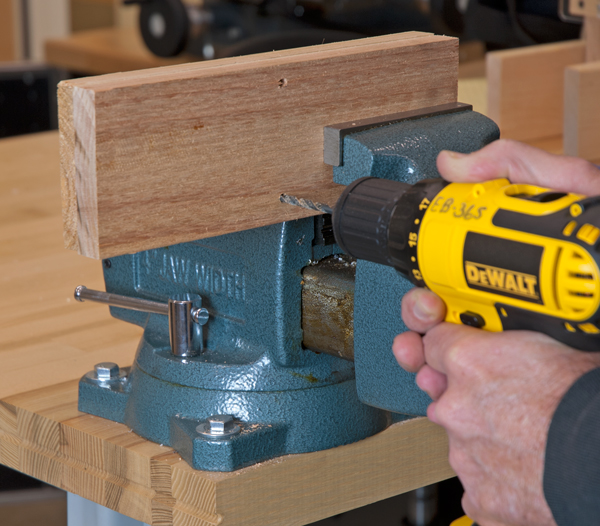
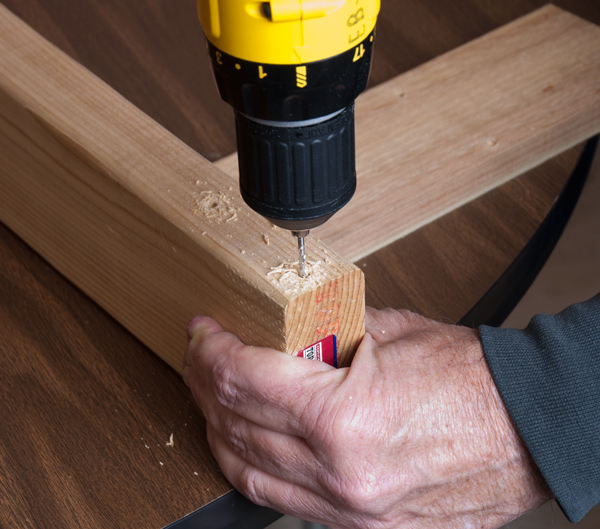
We will use a variation on the pattern transfer trick. This time, instead of drilling all the way through the second board, we will just nick the second board. We don't want to drill through the second board because the hole in the second board needs to be made with a smaller drill. That hole is the pilot hole for the threads, not the through hole with clearance for the screw shank.
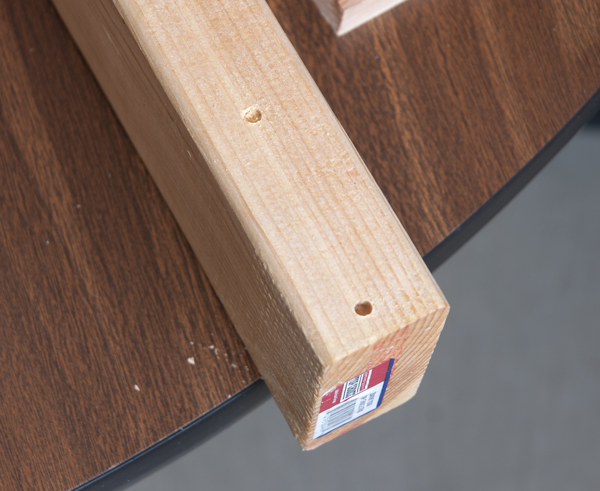
Transfer the hole pattern from the foot to the upright by drilling very shallow holes in the upright. These holes are little more than nicks in the upright.
Make sure that the transfer holes are very shallow
The picture below shows the shallow the marking holes.
Using the transfer marks to locate the bit, drill the pilot holes in the side of the upright. Make these holes deep enough that the screws will not bottom out.
Attach the feet
Start one of the screws
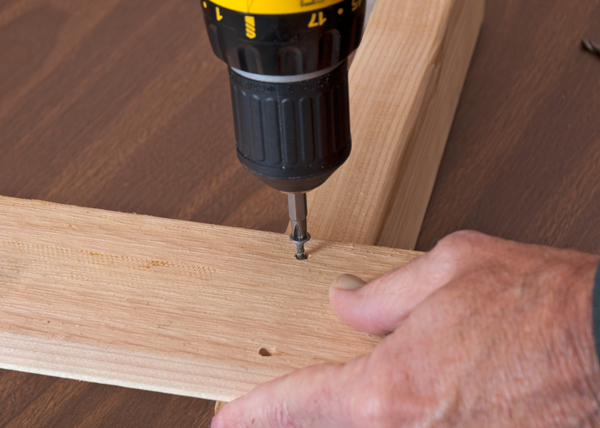
Check alignment before final tightening of screws
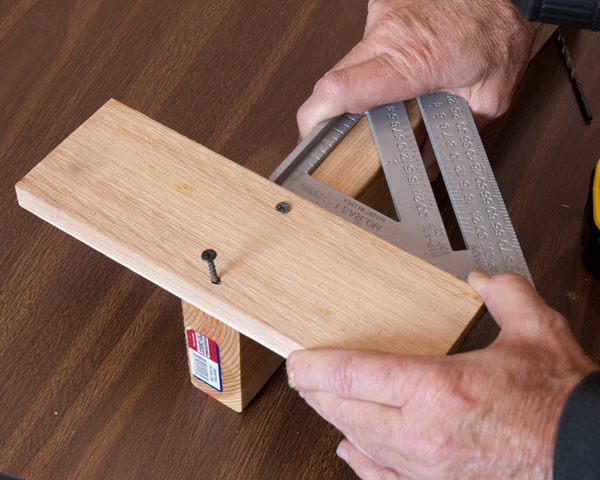
The final tightening of the screws crushes the soft wood in the foot to create a countersink
Before attaching the second foot, check that the upright is perpendicular to the table surfaces. The picture below shows that the alignment between the foot and the upright needs to be adjusted.
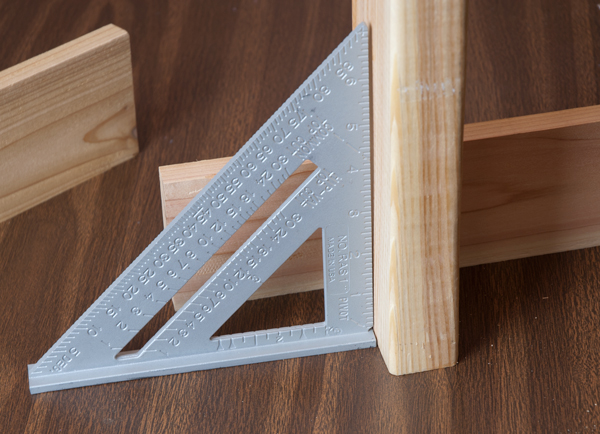
After correcting the alignment of the first foot, repeat the process for the second foot. Check for perpendicularity often.
Next Step
The next step is to attach the solenoid plate to the upright.